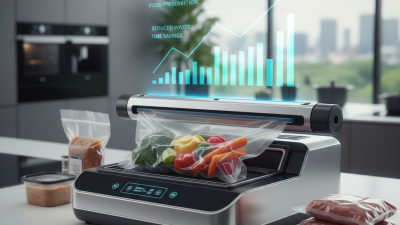
Choosing a Food Vacuum Sealer Machine is less about buying the strongest motor and more about matching the machine to your kitchen. Do you seal a few portions each week, or prepare a month of meals at once? That difference matters. A compact edge sealer may suit occasional use, while frequent batch sealing can call for faster cycles and a wider sealing bar. Look closely at bag compatibility, pulse control, removable drip trays, and how easily the machine handles moist foods. A glossy control panel is nice. It is not the whole story.
Food scientist and sous-vide author Douglas Baldwin’s published guidance emphasizes that vacuum packaging does not replace safe time-and-temperature control. That is worth remembering when storing meat, fish, or leftovers: sealing can help limit air exposure, but it does not make food shelf-stable. For a real comparison, check the seal after cooling, listen for a complete cycle, and consider whether replacement bags are easy to find. A small wrinkle near the seam can matter.
This guide will compare sealing styles, practical features, running costs, and common limitations. It will also help you weigh countertop space against convenience. Not every household needs an expensive model. And some claims deserve a second look. Think about what you actually seal, how often you clean the machine, and whether its instructions are clear. The best choice should fit your routine—not just look capable on a product page.
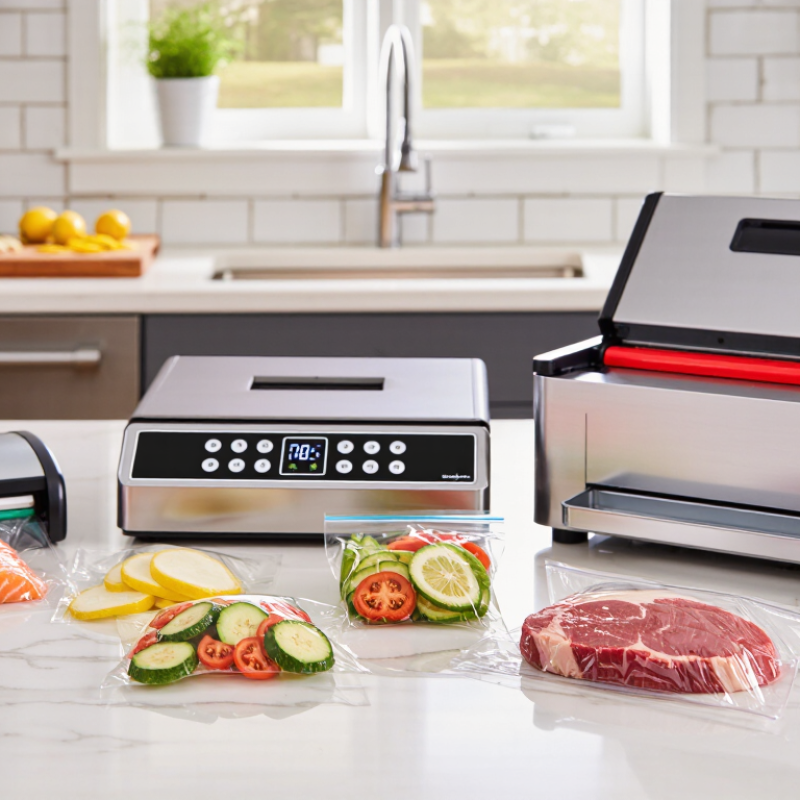
Start with what you actually store. Do you freeze family-sized portions of meat, save small servings of soup, or keep garden vegetables fresh? Write down a typical week’s foods and portion sizes. A household sealing several large cuts may value a wide sealing bar, while occasional users may prefer a compact unit that fits in a drawer. Think about portions. That matters.
Your habits are just as important as the food. If you seal batches every weekend, look for straightforward controls and a machine that can handle repeated cycles without long pauses. If you seal only now and then, a simple model may be enough. Check the cost and availability of compatible bags or rolls, too; a low purchase price can be less useful if supplies are awkward to find. I learned that storage space can be the surprise constraint.
Consider wet and delicate foods before choosing. A standard external sealer may struggle when liquid reaches the sealing area. Chilling or briefly pre-freezing juicy foods can help, though it adds a step. For frequent soups or marinades, compare machines designed to manage liquids. Leave room in bags for a clean seal, and follow the maker’s instructions. Vacuum sealing does not make perishable food shelf-stable; refrigerate or freeze it as appropriate. A sealer can save space, but it cannot fix a storage routine you won’t maintain.
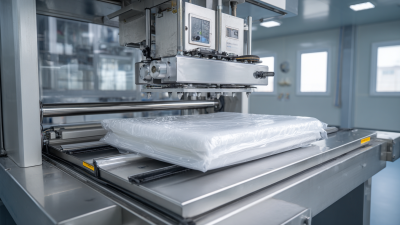
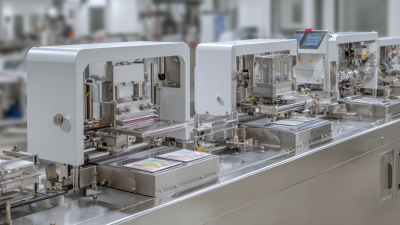
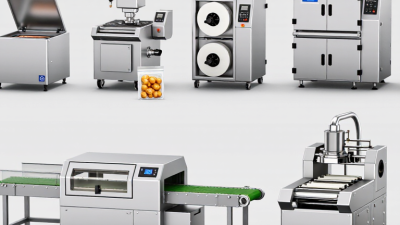
Choosing the best food vacuum sealer starts with matching its design to your usual ingredients. External-suction machines draw air from specially textured bags and suit everyday portions of meat, cheese, or dry goods. They are compact and often less expensive. Chamber sealers place the bag inside the machine, so they can handle liquids more reliably. They also take up more counter space. For occasional use, an external model may be enough. Not always.
Sealing methods matter just as much as machine type. A dry setting works well for crackers or nuts, while a moist setting can extend the seal time for damp foods. For berries or soft bread, use pulse control to remove air gently; crushing is easy. Manual sealing helps when you want to stop extraction before delicate items lose their shape. Check that your bags fit the machine, and leave a clear, dry strip near the opening. Small details matter. Results can still vary with food shape and bag texture, so test a portion before sealing a whole batch.
Tips: Pat wet ingredients dry, and keep the seal area free of crumbs. Leave space at the top of each bag. One test first. If seals wrinkle or leak, reposition the food and try again.
| Machine Type | How Air Is Removed | Typical Sealing Method | Common Packaging | Best Suited For | Main Limitations | What to Check Before Buying |
|---|---|---|---|---|---|---|
| External suction (edge) sealer | Air is drawn out through the open end of a bag held outside the machine. | A heated sealing bar melts the bag layers together after vacuuming. Many units also offer a seal-only setting. | Usually textured, channelled vacuum bags or rolls designed for external suction sealers. | Everyday home use, portioning solid foods, and preparing food for freezer storage. | Liquids and wet foods can be drawn toward the pump. Smooth chamber pouches generally do not work unless the machine specifically supports them. | Look for adjustable vacuum or pulse control for delicate foods, a removable drip tray, and a cutter or roll storage if useful. |
| Chamber vacuum sealer | The open bag is placed inside the chamber. The machine lowers pressure in the chamber, then returns it to normal pressure. | A heated bar seals the bag inside the chamber while the vacuum cycle is completed. | Often compatible with smooth, chamber-style pouches; check the machine’s specifications for supported bag sizes and materials. | Frequent or larger-volume use, liquids, sauces, marinades, and foods that are difficult to seal with external suction. | Typically larger, heavier, and more expensive than countertop external suction models; chamber size limits pouch dimensions. | Compare chamber dimensions, sealing-bar length, cycle time, controls, and the availability and cost of suitable pouches. |
| Handheld valve-bag sealer | A small portable pump removes air through a one-way valve in a compatible bag. | The bag is closed with its zipper-style closure; the valve is not usually heat-sealed by the handheld device. | Reusable or single-use bags made with a compatible vacuum valve and closure. | Small portions, occasional use, and compact storage when a countertop machine is unnecessary. | Bag compatibility can be limited, and the zipper closure and valve need to remain clean and undamaged. It may not provide the same packaging options as a heat-sealing machine. | Confirm which bags and containers work with the device, whether replacement bags are readily available, and how the pump is powered. |
| External sealer with accessory hose | The machine draws air through an accessory hose connected to a compatible container or canister. | For bags, a heated bar makes the seal. For containers, air is removed through the lid valve; no bag heat seal is involved. | Compatible textured bags, plus containers or canisters designed for the accessory connection. | Households that want to vacuum-seal bags and use compatible containers for foods that should not be compressed in a bag. | Container and hose compatibility varies by model. Vacuum containers are not interchangeable with ordinary airtight containers. | Check whether the hose and container adapters are included, and verify compatibility before purchasing accessories. |
Quick selection guide: Choose an external suction sealer for routine household bag sealing, a chamber sealer for frequent use or liquid-rich foods, and a handheld valve-bag sealer for compact, occasional use. Always follow the appliance and bag instructions; vacuum packaging does not replace safe food handling, refrigeration, or freezing.
Evaluate Sealing Performance, Features, and Ease of Use
A reliable sealer should create an even, continuous seal without wrinkles or damp gaps. Check whether it handles dry foods and moist items, since juicy leftovers can challenge basic models. If possible, test a sample bag and inspect the seam closely. It should feel firm, not brittle. A machine’s advertised power matters less than consistent results across several sealing cycles.
Useful features depend on what you store. Adjustable vacuum strength can help protect soft berries or bread from crushing. A pulse setting gives you more control, while a removable drip tray makes cleanup easier after sealing marinated food. Consider the bag width and the cost of compatible rolls, too. More settings are not always better; a crowded control panel can slow down a simple task. That is easy to overlook.
Tips: Leave a little space above the food, and keep the sealing edge clean and dry. Try sealing one portion before preparing a large batch. Listen for changes in the motor, and check the seam after cooling. If the first seal looks uneven, reposition the bag and try again. It takes practice. A compact machine may suit occasional use, but frequent meal prep calls for sturdy controls and a seal bar that is easy to wipe.
A food vacuum sealer works well only when its bags match the sealing method. Some countertop machines accept standard textured rolls, while others need smooth or specially sized bags. Check the manual before buying supplies. Look at the maximum bag width, too; a wide cut of meat may not fit a narrow seal bar. That matters. If you already own bags, test their thickness and texture against the machine’s instructions rather than assuming they are compatible.
Maintenance affects how reliably the sealer closes each bag. After use, let the heating strip cool, then wipe away crumbs or moisture with a soft cloth. Empty and clean the drip tray if the machine has one. Inspect the foam gasket for flattening or tears, since a worn seal can weaken suction. Keep liquids away from the motor housing. It is easy to forget cleanup when packing a large batch, but residue can cause trouble later.
Compare ongoing costs, not just the purchase price. Add up rolls or pre-cut bags, replacement gaskets, and the electricity used during regular sessions. Buying wider rolls can reduce scraps for some households, though unused material may become waste. A low-cost machine may also cost more over time if it needs specialized bags. I would check bag prices first; I have seen that step overlooked. Estimate how many portions you will seal each month, then compare the cost per portion across compatible options.
Choose a food vacuum sealer by measuring your counter and storage space before comparing features. A bulky machine may be powerful, yet awkward beside the toaster.
USDA estimates that 30–40% of the U.S. food supply is lost or wasted, according to its Food Loss and Waste resources.
That figure supports planning portions, not assuming a sealer will prevent all waste. Think about what you actually freeze: a few soup portions each week call for different capacity than frequent bulk-meat packing. Space matters.
Set a full budget, including compatible bags or rolls, not just the machine’s price. Check whether replacement materials are easy to find and whether the unit seals bags consistently without lengthy cooling breaks.
For occasional use, a compact model may be enough; frequent batches may justify a wider sealing strip and stronger duty cycle. I admit, a larger model can look reassuring, but it may become counter clutter. Measure cabinet clearance, too.
A built-in cutter and simple controls can save small hassles, while extra modes may go unused. Compare the manual’s cleaning steps and warranty terms before buying. The cheapest option is not always the least costly.
If you mostly store delicate berries or bread, a pulse setting can help limit crushing, though it takes a little practice.